
Scenarios
Home Security Camera Setup with PoE: A Step-by-Step Guide
A practical PoE home camera setup: pick the right switch, mount bullets and domes, run one cable per camera, and power from a single edge.
Published 2026-07-20
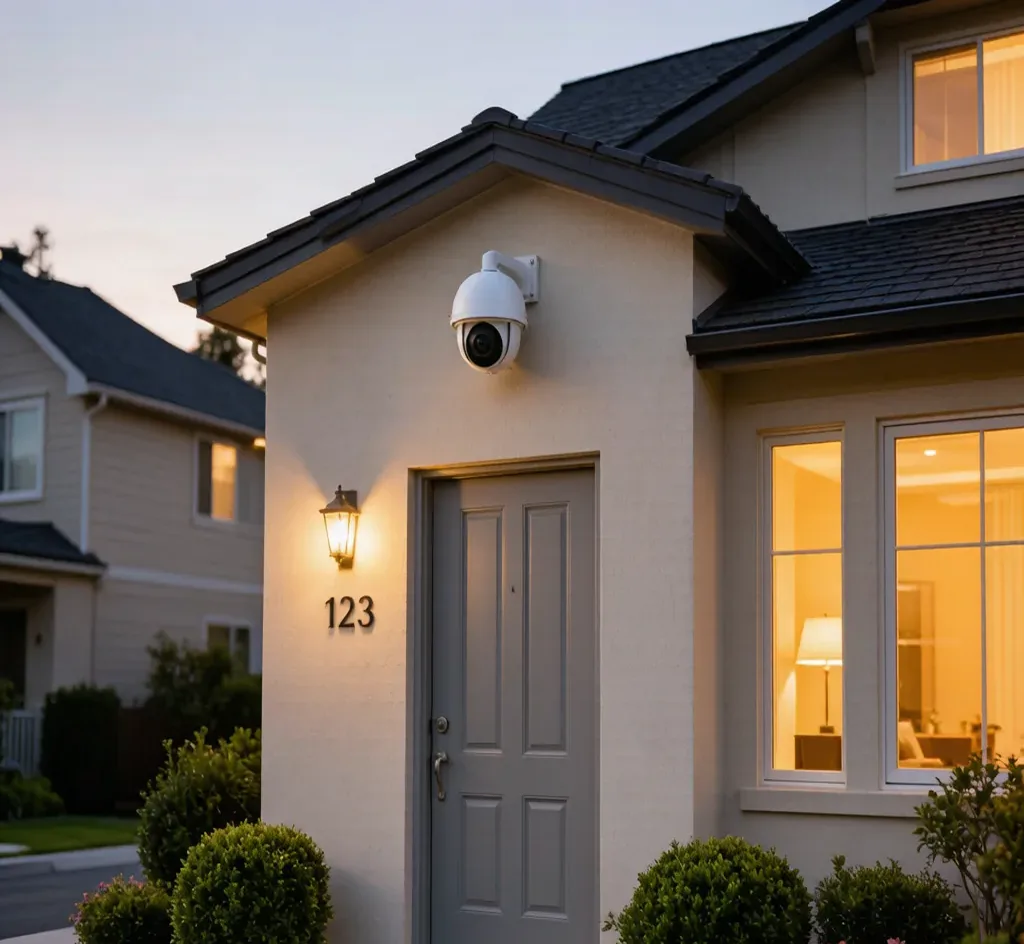
A home system does not need a rack or an engineer. With PoE, four cameras become a tidy weekend project.
Step 1 — Count cameras and pick a switch
For a typical home (front door, back, driveway, garage), four cameras need four PoE ports. The 4-Port PoE Switch (802.3af) is the right size and fanless-quiet.
Step 2 — Run one Cat6 per camera
Each camera gets a single Cat6 to the switch — power and video in one cable. Use the 4-Channel PoE Starter Kit to get switch, cable, connectors and brackets together.
Step 3 — Mount and aim
Use a wall bracket for bullets (aim down at entries) and a ceiling plate for domes under eaves. Add a rain cover on exposed bullets.
Step 4 — Connect to NVR or router
Uplink the switch to your NVR or router. Done — no power bricks scattered around the house.
Frequently asked
Do I need a PoE switch for home cameras?
If your cameras are PoE, a PoE switch (or injector) is the cleanest way to power them — one cable per camera, no separate power supply at each location.
How many cameras is a 4-port switch good for?
Four PoE cameras, one per port, with the uplink feeding your NVR/router. For more coverage, step up to an 8-port model.
Are SurveilForge accessories compatible with Hikvision, Dahua and Axis cameras?
Yes — they follow open surveillance standards (IEEE 802.3af/at PoE, RJ45, BNC, DC 12V/24V) and work with any brand using those standards, including Hikvision, Dahua and Axis. SurveilForge is an independent brand, not affiliated with any camera OEM.
Can I buy a single unit, or only wholesale?
Standard products are sold as single units in our shop. Custom or OEM branding and volume pricing start at a minimum order of 300 pieces.
How long does shipping take?
We ship worldwide; lead time varies by destination and order size. Contact us for a quote on your region.
Products mentioned in this guide
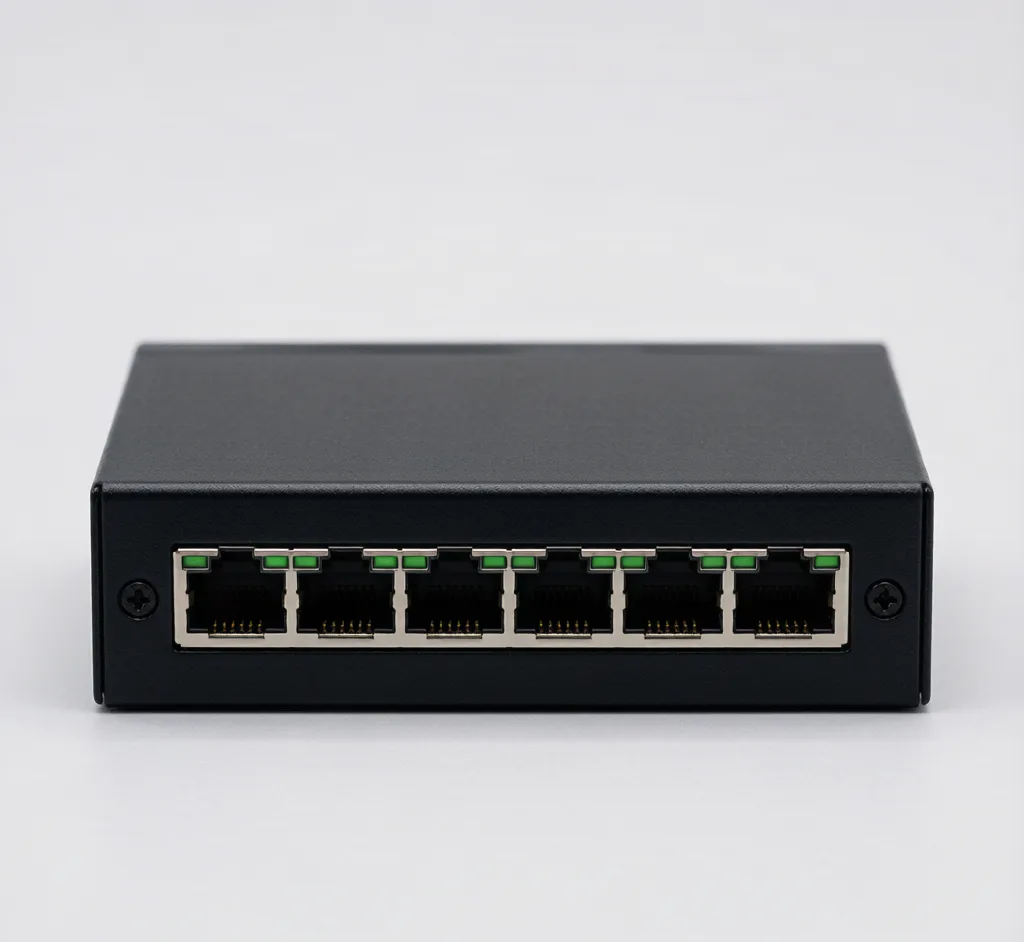
4-Port PoE Switch (802.3af)
Model: SF-POE-4P-AF
Compact 4-port 10/100 PoE switch, 48V, powers up to 4 IP cameras.
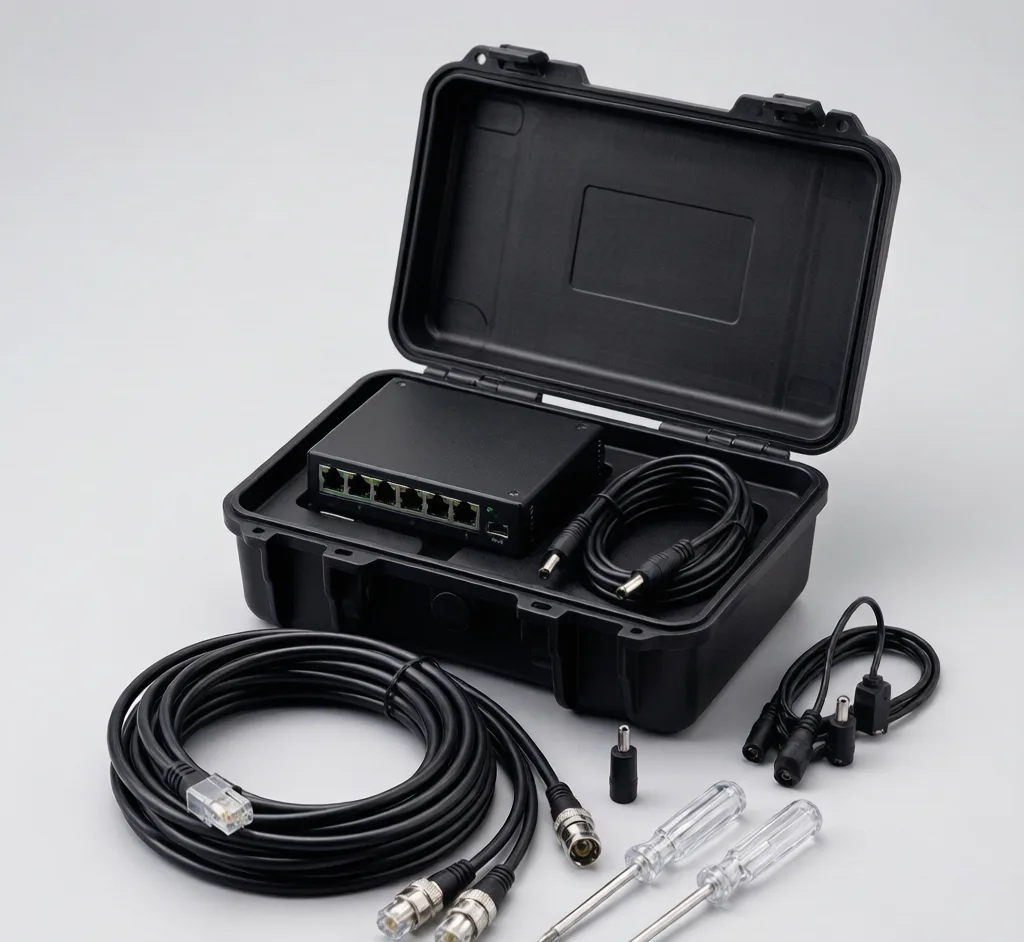
4-Channel PoE Starter Kit
Model: SF-KIT-4CH
4-port PoE switch + 60m Cat6 + 4× BNC/DC + 4× brackets.
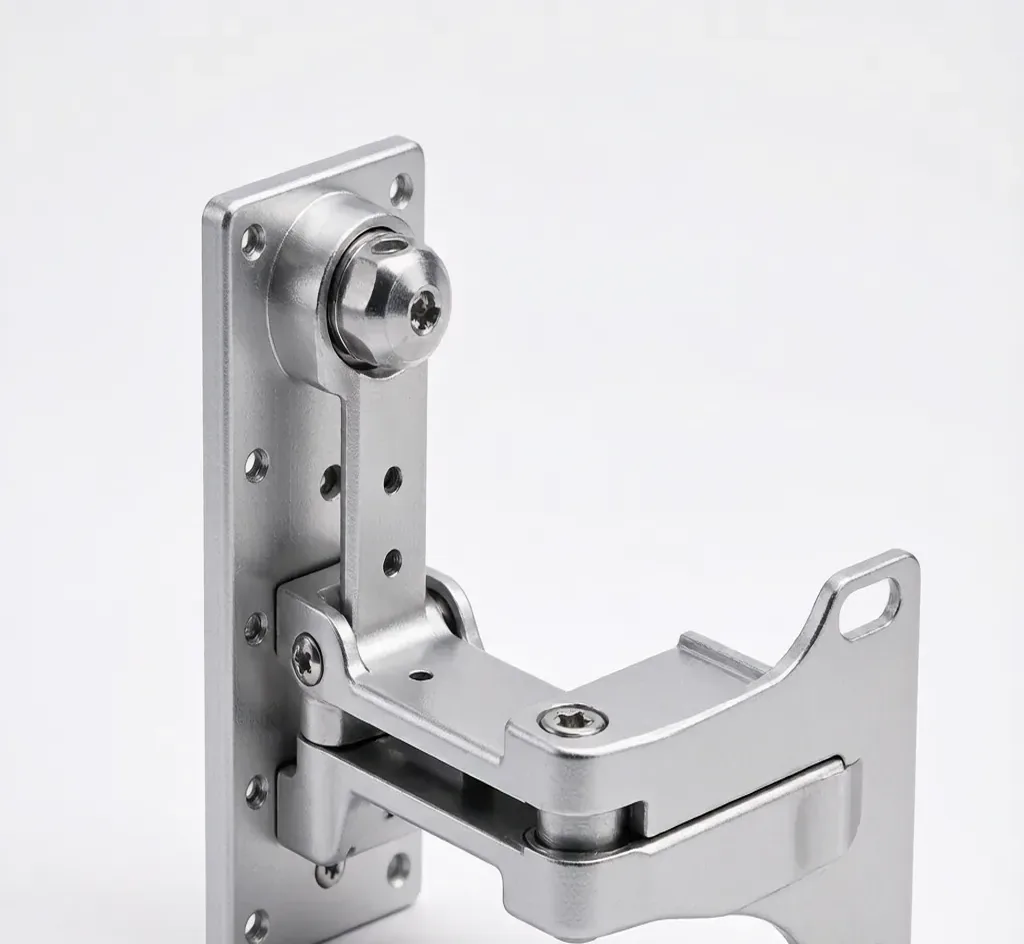
Universal Wall Bracket
Model: SF-BRACKET-WALL
Aluminum L-shape wall bracket for bullet and turret cameras.
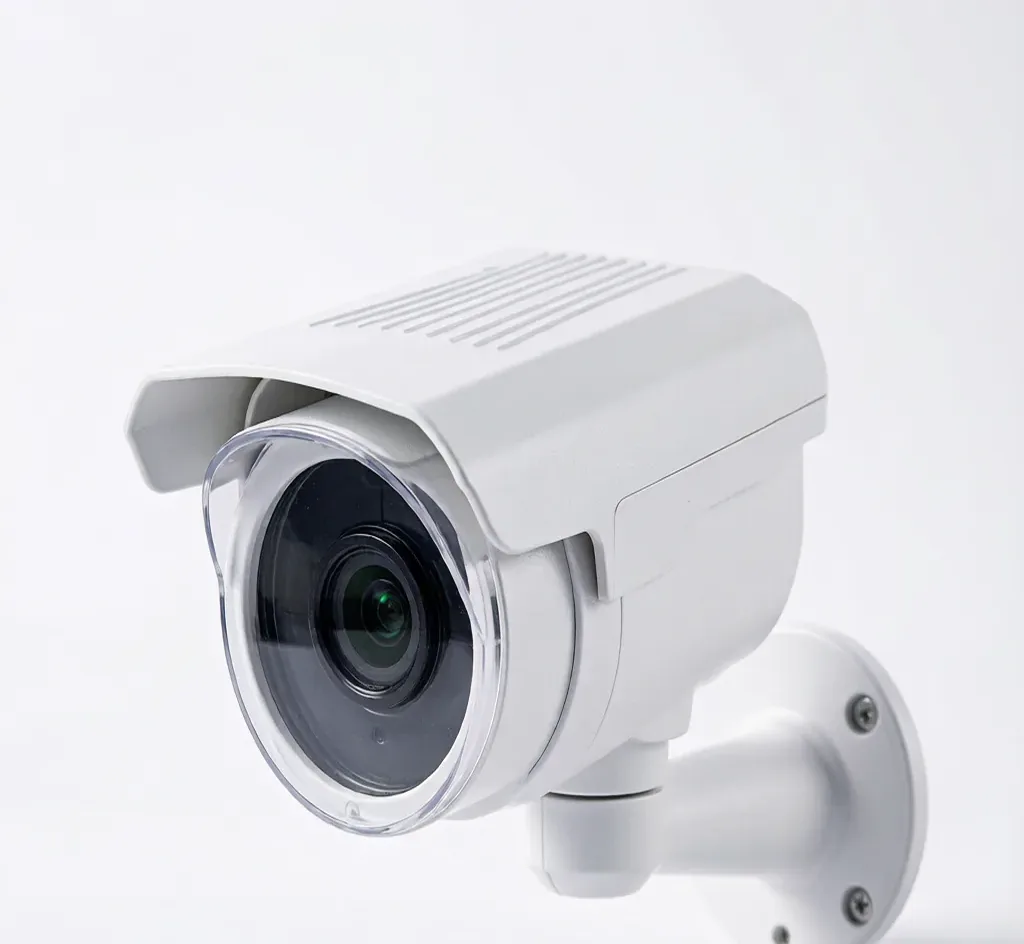
Camera Rain Cover
Model: SF-RAIN-COVER
ABS sun/rain shield that extends bullet camera life outdoors.